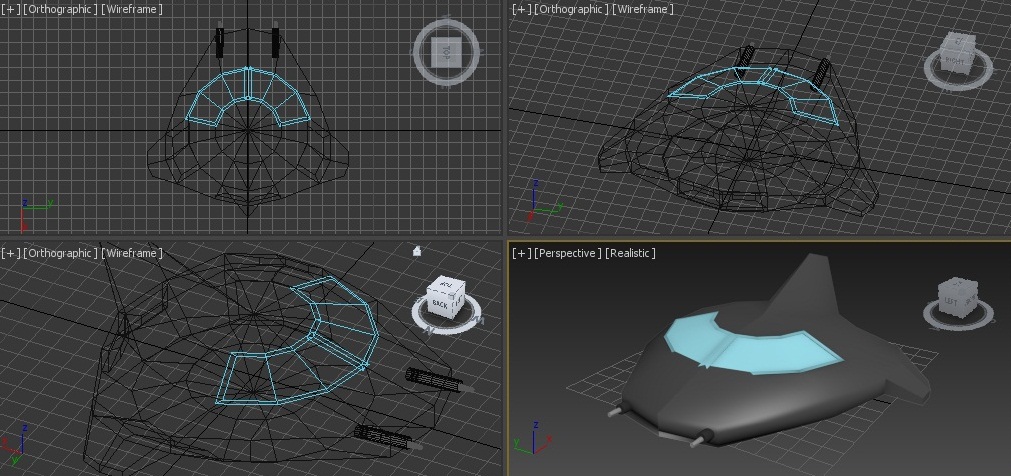
A little bird told me that why not try searching for a tutorial in making a spaceship because I'm stuck again for my next model. So, I decided to do his suggestion. I searched for a video in Youtube and landed on this
tutorial (Eugene Ch'ng, 2012).
By watching the tutorial, I discovered a lot of techniques. The first step is to have a sphere and delete the other half (Figure 1). Just a reminder, the segment of the sphere should be "even" number so that you could divide it by two. To divide it, you can place your sphere in Y axis (pattern the edges as seen in Figure 1, upper-left corner image). This method will make it easier for you to select all the vertices and delete it.
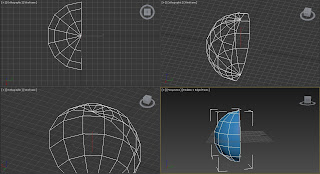 |
| Figure 1. Deleting half of the sphere |
The reason why I deleted half of the sphere is because I will duplicate it with the Mirror tool with Reference option. Why I did not used Copy option? The difference between these two is, Copy option is just copying the element. On the other hand, Reference option is copying the element and if you do some modification on that element, the copied element will modify itself too. So it saves time and make you element sides even. After that, I manipulate some vertices to add shape on my spaceship and added Bevel effect to give details on it (Figure 2).
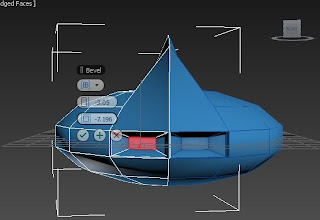 |
| Figure 2. Mirror tool with Reference option and Bevel option |
In order to avoid the curve bottom, I selected the center vertex and all the vertices around the it and then move it upward to achieve a flat bottom look (Figure 3). You can also see that I added wings by using the Extrude option in the polygons.
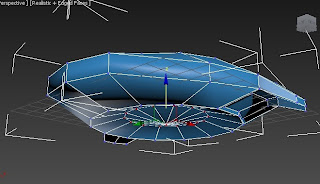 |
| Figure 3. Moving the vertices to add flat bottom look |
Another technique I discovered are the Detach and Attach options. I added windows to my spaceship by selecting three polygons next to the polygons near the center vertex and then chose Detach options (Figure 4). With this method, these polygons are now new element. To give a window effect, I added colour on it and duplicated as shown in Figure 5.
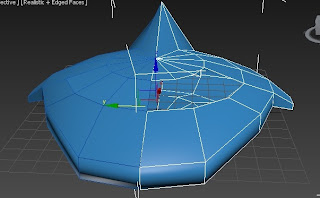 |
| Figure 4. |
I accidentally moved the other half of the spaceship. With the Align tool, problem is solved (Figure 5). After aligning it properly, I combine these elements by using Attach option and Weld all the vertices in the middle to unite the vertices since they are in the middle.
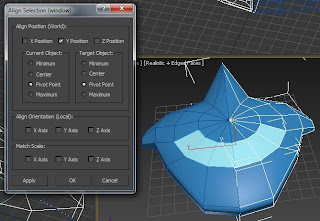 |
| Figure 5. Align Tool |
I changed the colour of the spaceship just like from my first model to give it "like a spaceship effect" and the fact that this colour is common to it.
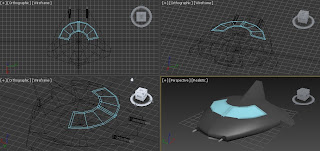 |
| Figure6. Spaceship 2 |
Total Polys: 446
Total Verts: 385
A very simple spaceship with few polygons. I guess, with this amount of polygons, this is very good for gaming especially those simple games as well as for Media students. But, I also think that for us, Media students, we should have more details to make this look more attractive to others.
References:
Eugene Ch'ng, 2012.
3D Studio Max Tutorials -Creating a Spaceship. [online] Available at: <http://www.youtube.com/watch?v=txUWtVUSitg>
[Accessed 30 October 2012]


 I
I