In this exercises, I learned about using place to add and image and make it like a guide for my aircraft using Material editor. Figure 1 shows my workspace when I added tha objects and aligning them properly using the Align tool. These plane shapes will be my base image model for my aircraft. With this method, it is easier for me to manipulate the shapes accroding to the images.
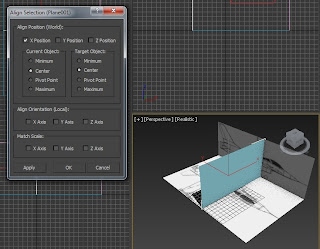 |
| Figure 1. Image added to the plane shape |
These images were added using the Material Editor (Figure 2). This tool is useful in adding images to a 3D shape.
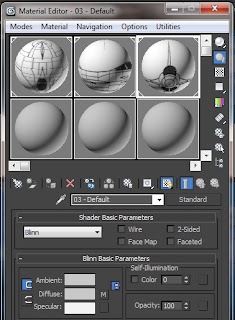 |
| Figure 2. Material Editor |
To start with my aircraft, I added two cylinder then Scale down all the vertices in front then combine all of them with Weld option (Figure 3). This will be the "nose" of my aircraft.
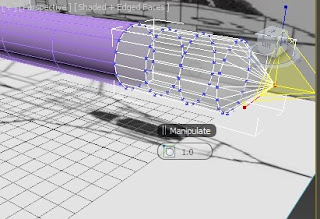 |
| Figure 3. Scale and Weld |
I encountered a problem with these cylinders. Because they are separated cylinders, I found out that there are still gaps between my long and small cylinder. What I did was I positioned the vertices according to the vertices of the other cylinder (Figure 4). With this method, I was able to solved my problem.
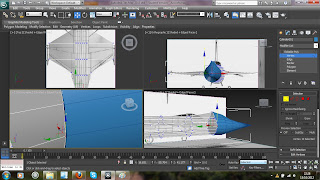 |
| Figure 4. Vertices in the right position |
I'm not sure what happened (maybe I accidentally do it) but one polygon on my wings is gone (Figure 5). I panicked when I saw this. But I managed to find a solution by creating new polygon by Create option under Polygon modifier (Figure 6).
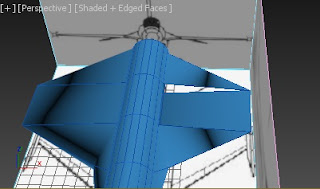 |
| Figure 5. Missing polygon |
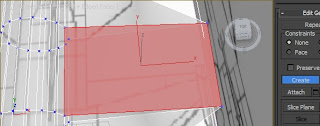 |
| Figure 6. Create a polygon |
So far, Figure 7 shows my aircrft model.
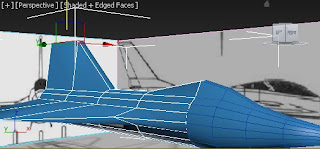 |
| Figure 7. Aircraft |


No comments:
Post a Comment